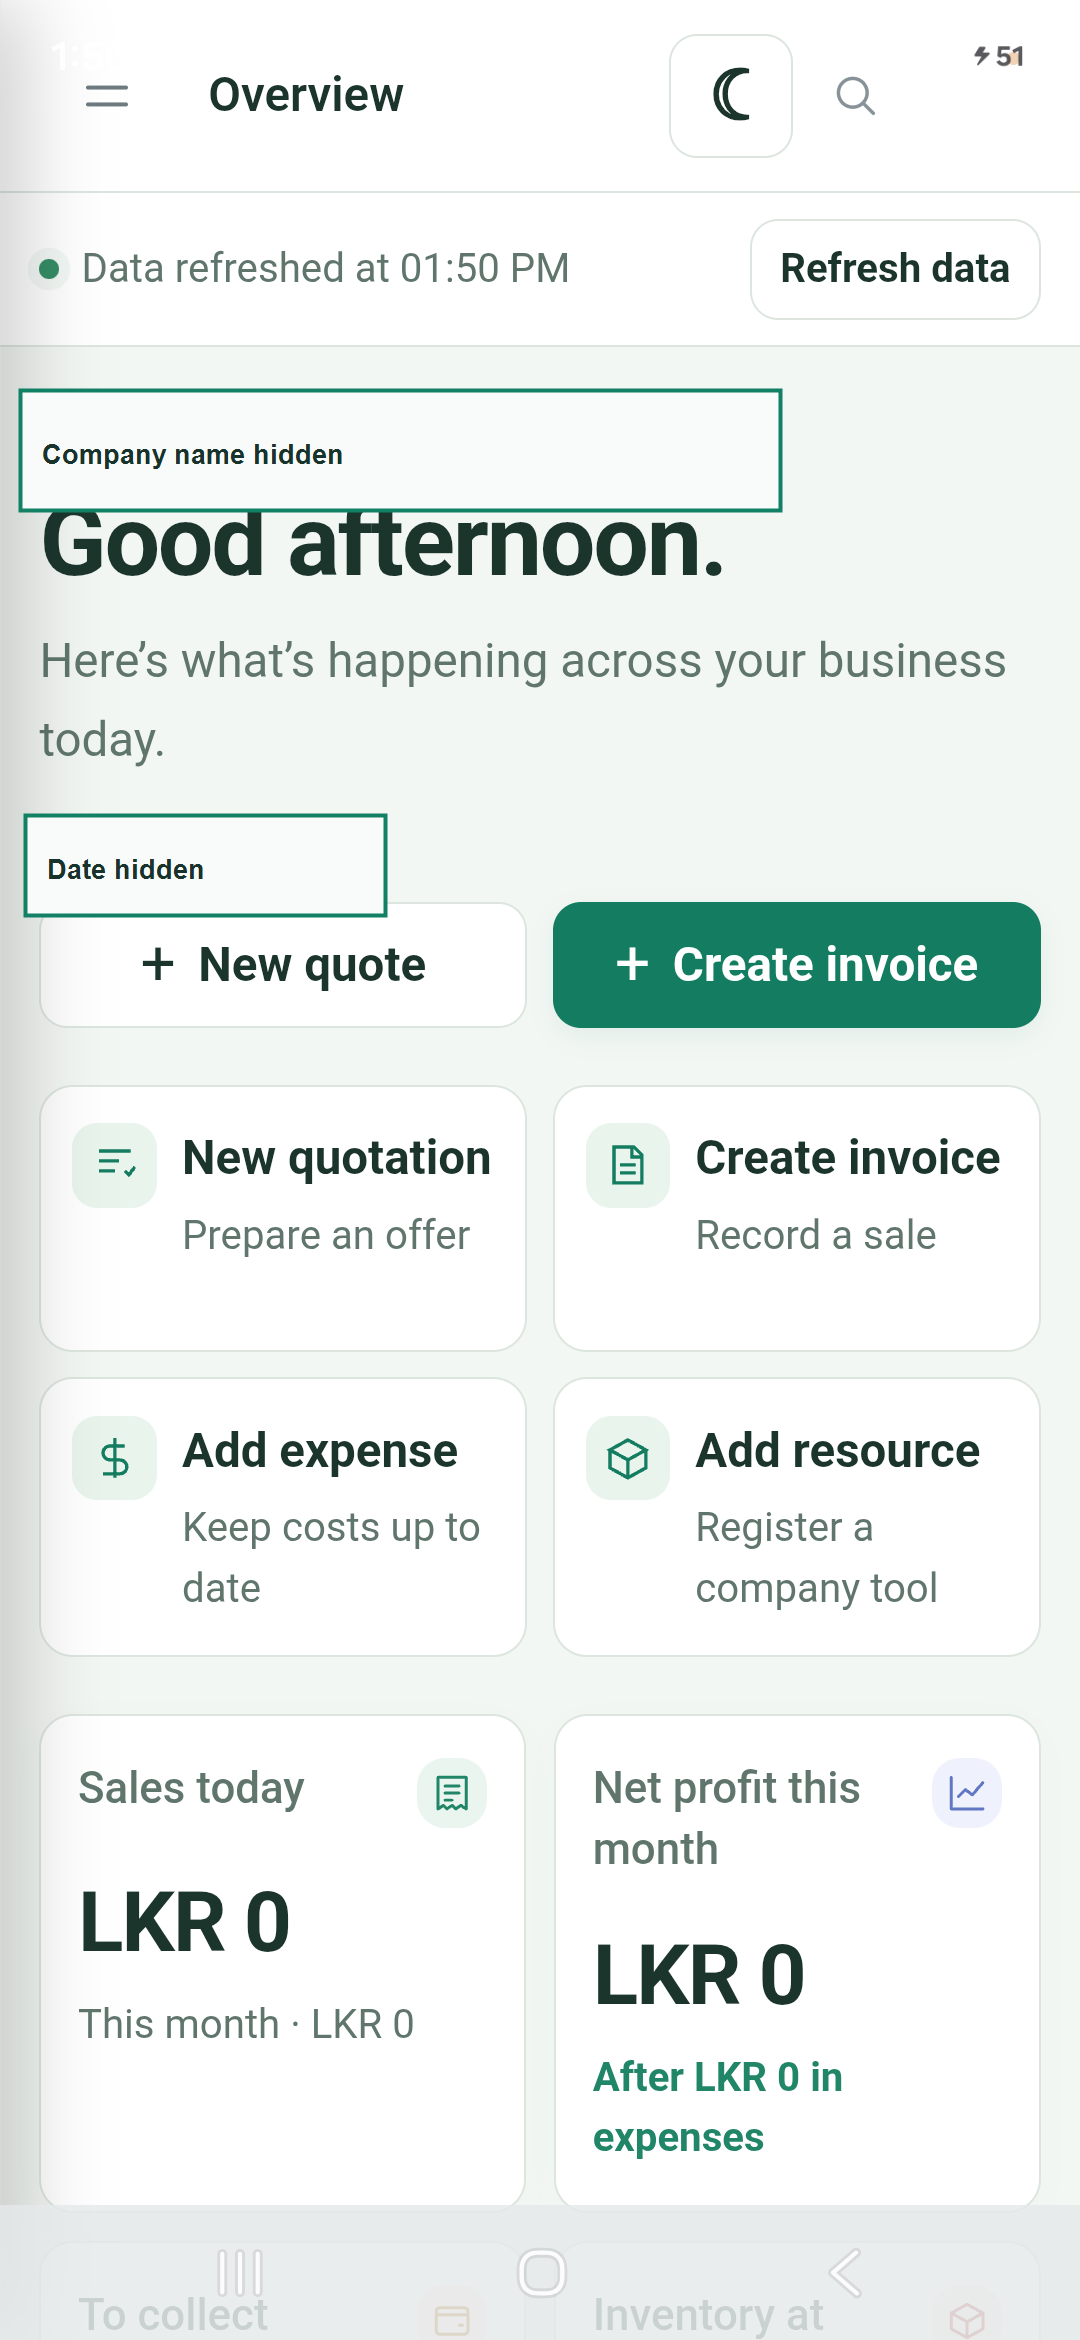
A practical guide captured from the installed Android app on a connected Samsung Galaxy A16. The screenshots are real device captures with company, user, customer, invoice and amount data hidden for safe sharing.
Important: These screenshots have private account details hidden. Confirm the selected customer, company and totals before saving any real document. Features shown depend on your account permissions.
1. Open the app and reach the dashboard
1
Open itsme invoicey from the phone app list.
2
Wait for Bringing your workspace together… to finish.
3
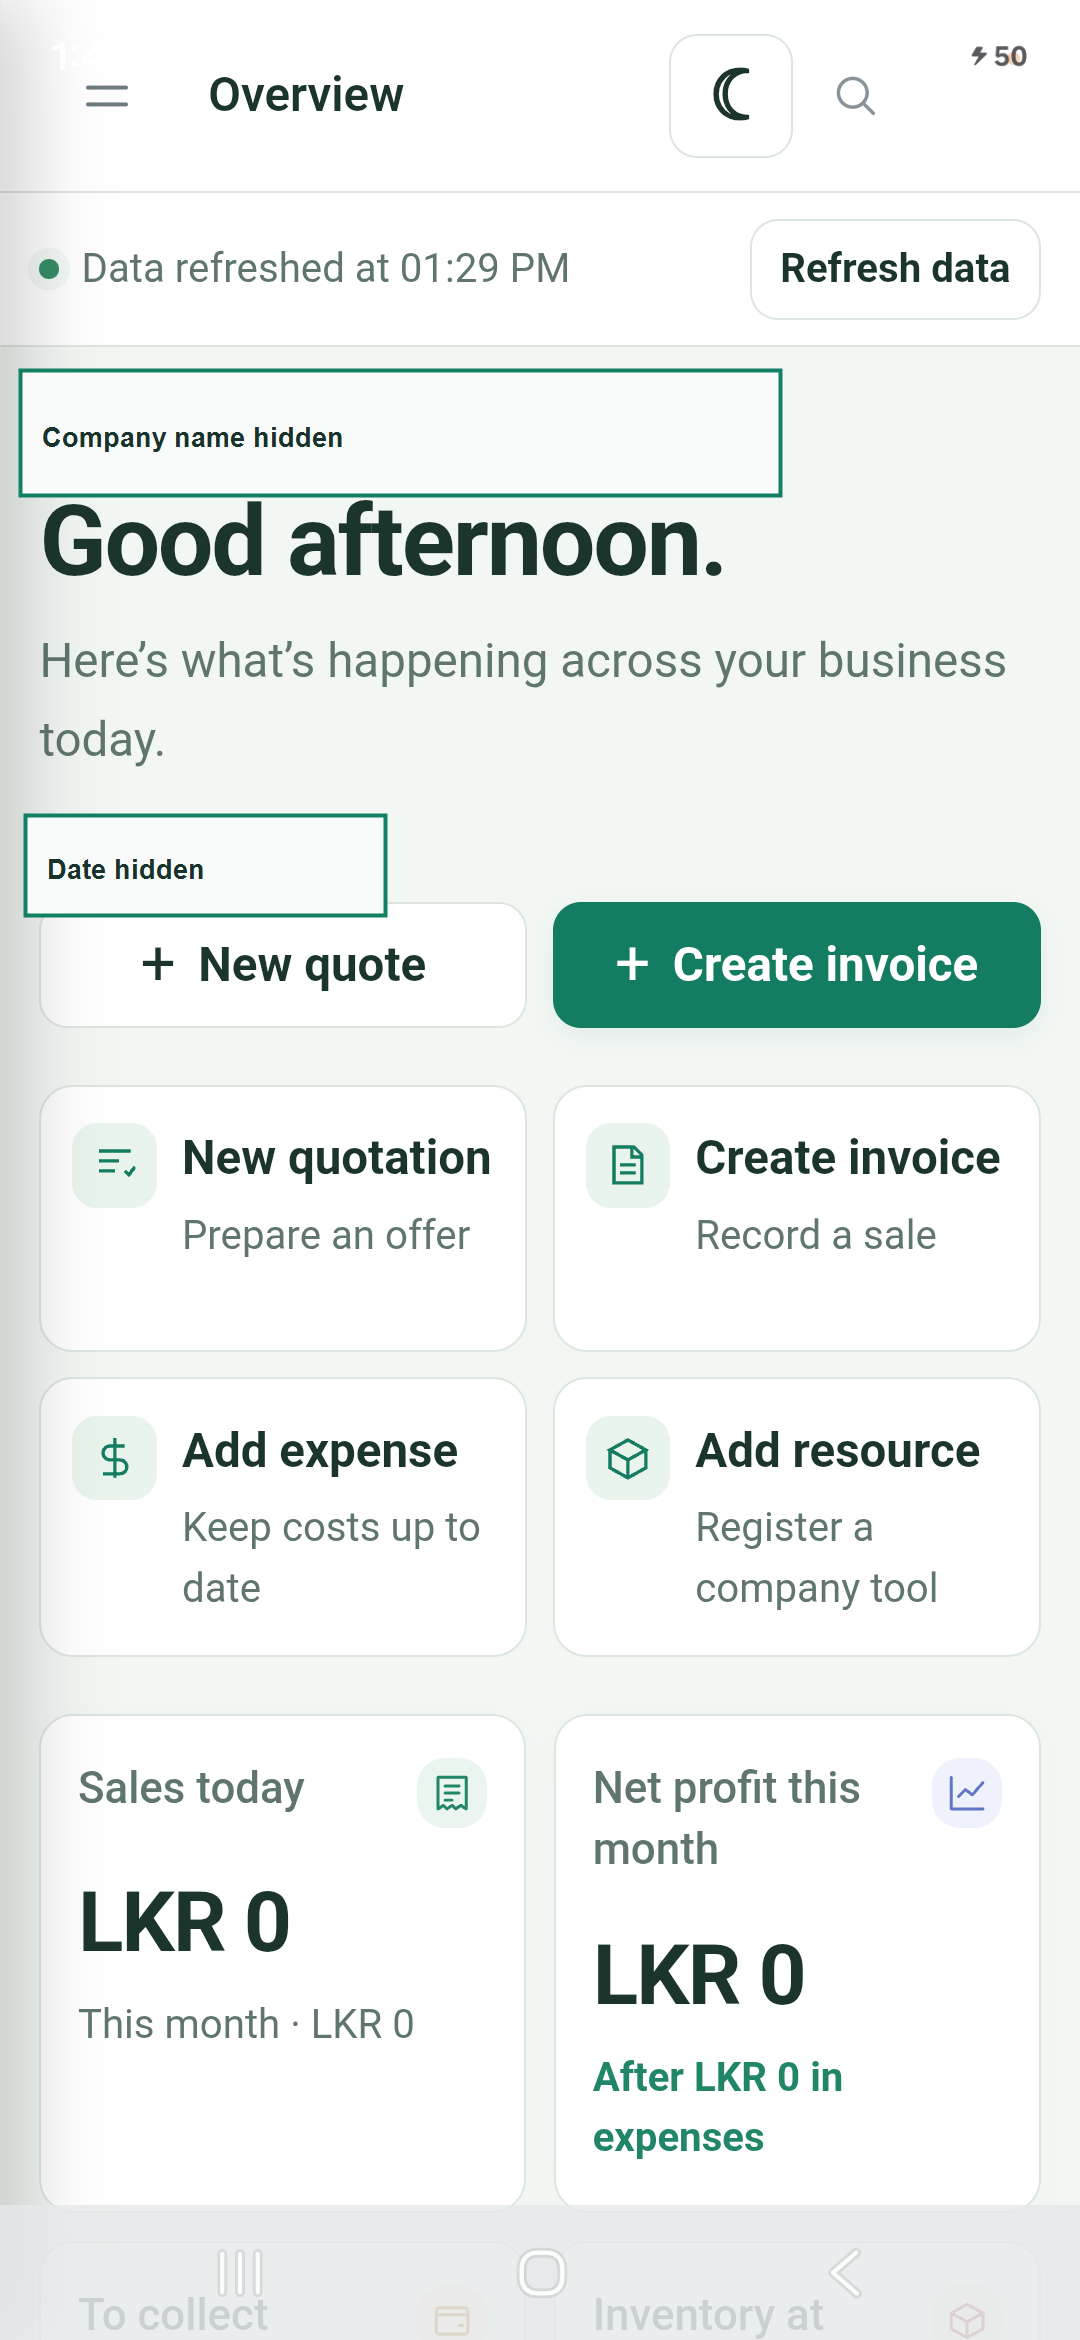
Confirm that the page shows Overview, the refresh status and the main quick actions.
4
If the loading screen remains for a long time, tap Refresh data. If it still does not finish, close and relaunch only itsme invoicey.
Dashboard: New quote, Create invoice, Add expense and Add resource are available without entering a record.
2. Use the navigation menu
1
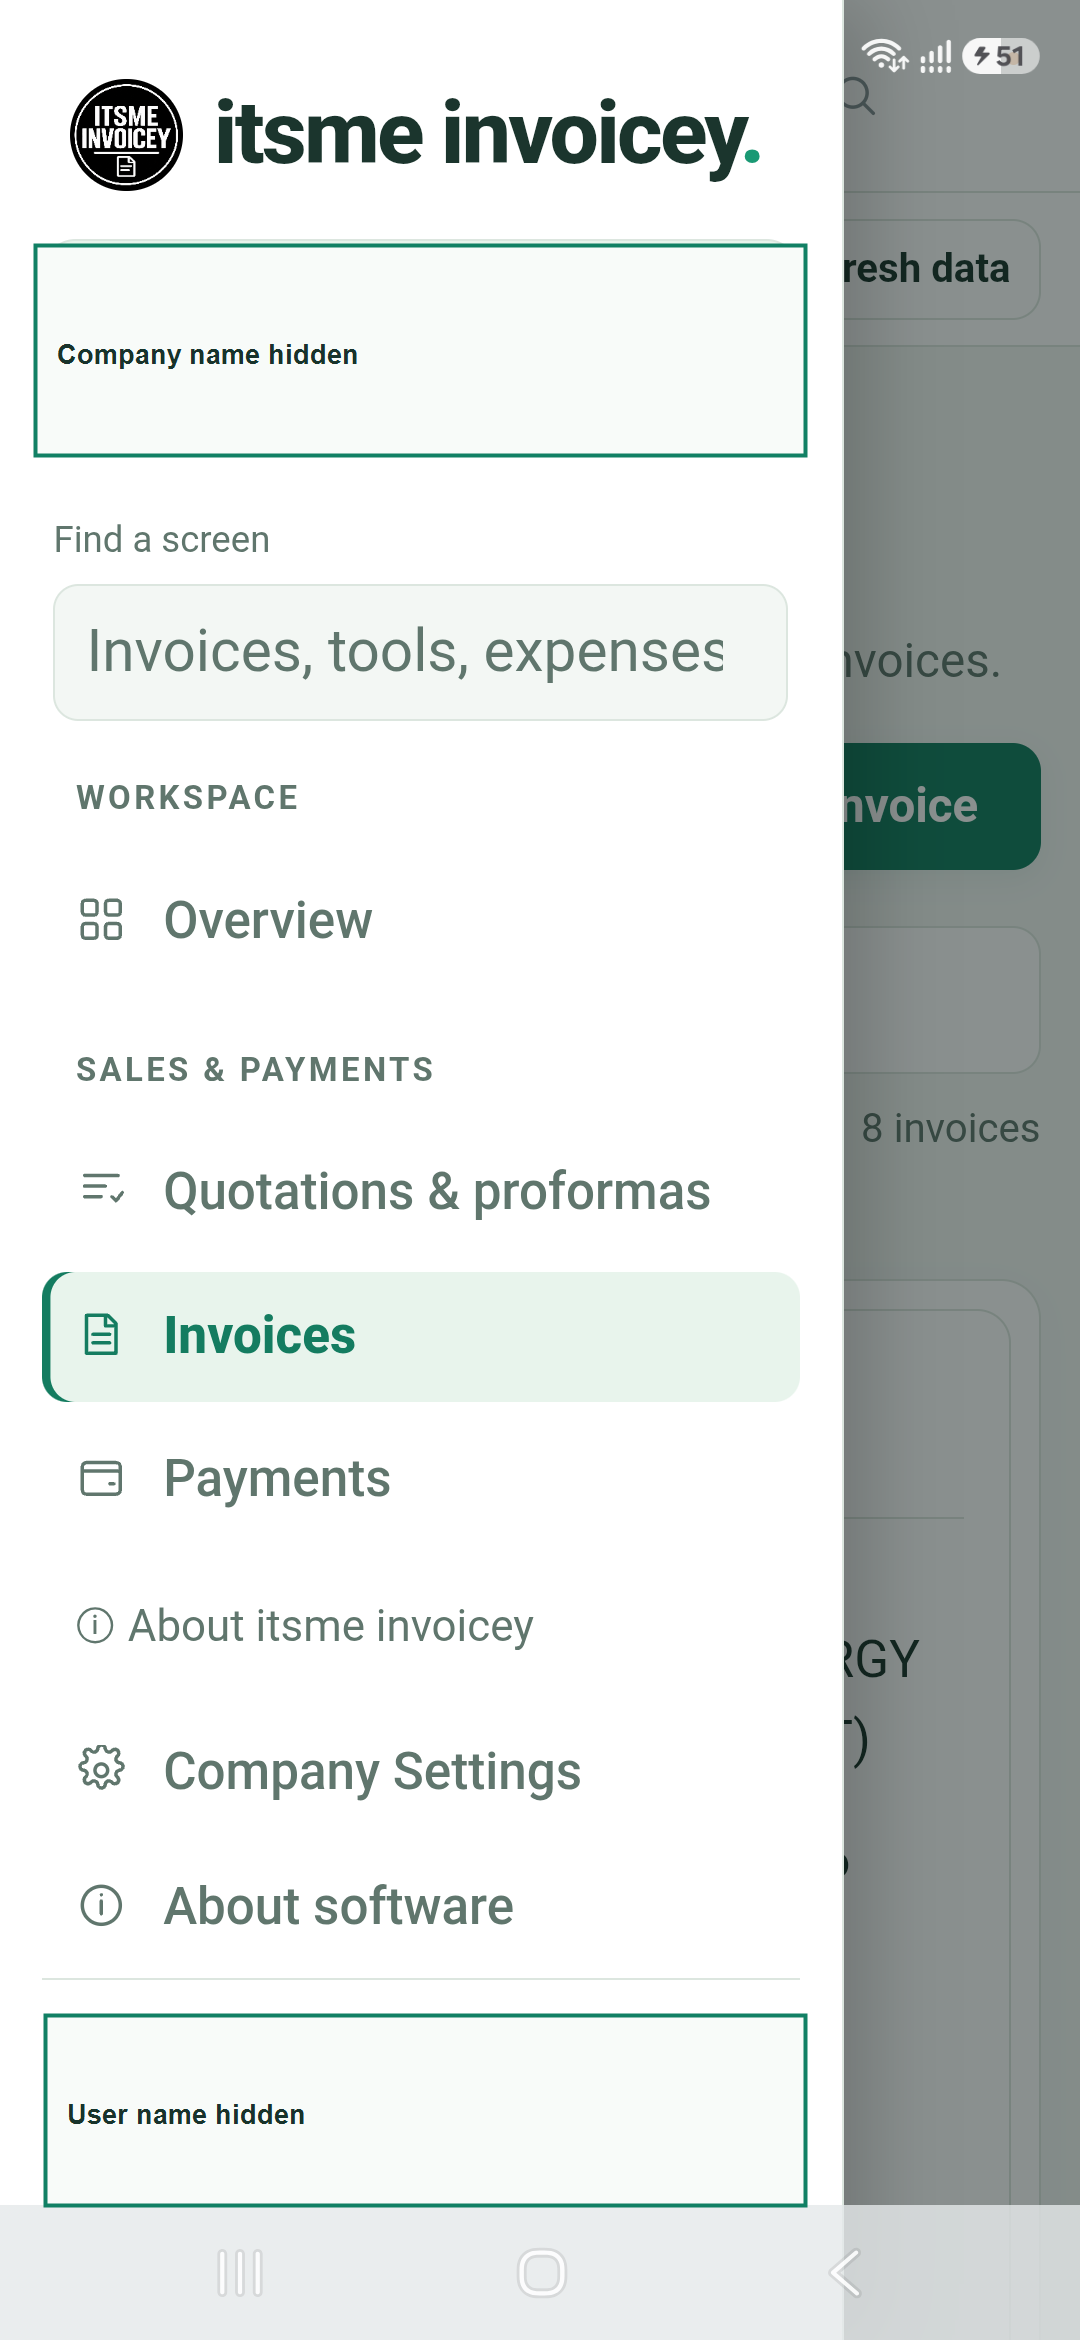
Tap the three-line menu at the upper left.
2
Choose Quotations & proformas, Invoices or Payments under Sales & Payments.
3
Use Find a screen or the global search to find Expenses, Reports, Projects and other modules.
4
Use Company Settings for company profile, logo, document settings, language and theme.
Navigation menu: private company and user names are hidden in this shareable copy.
3. Create a quotation
1
Tap New quote on Overview or open Quotations & proformas.
2
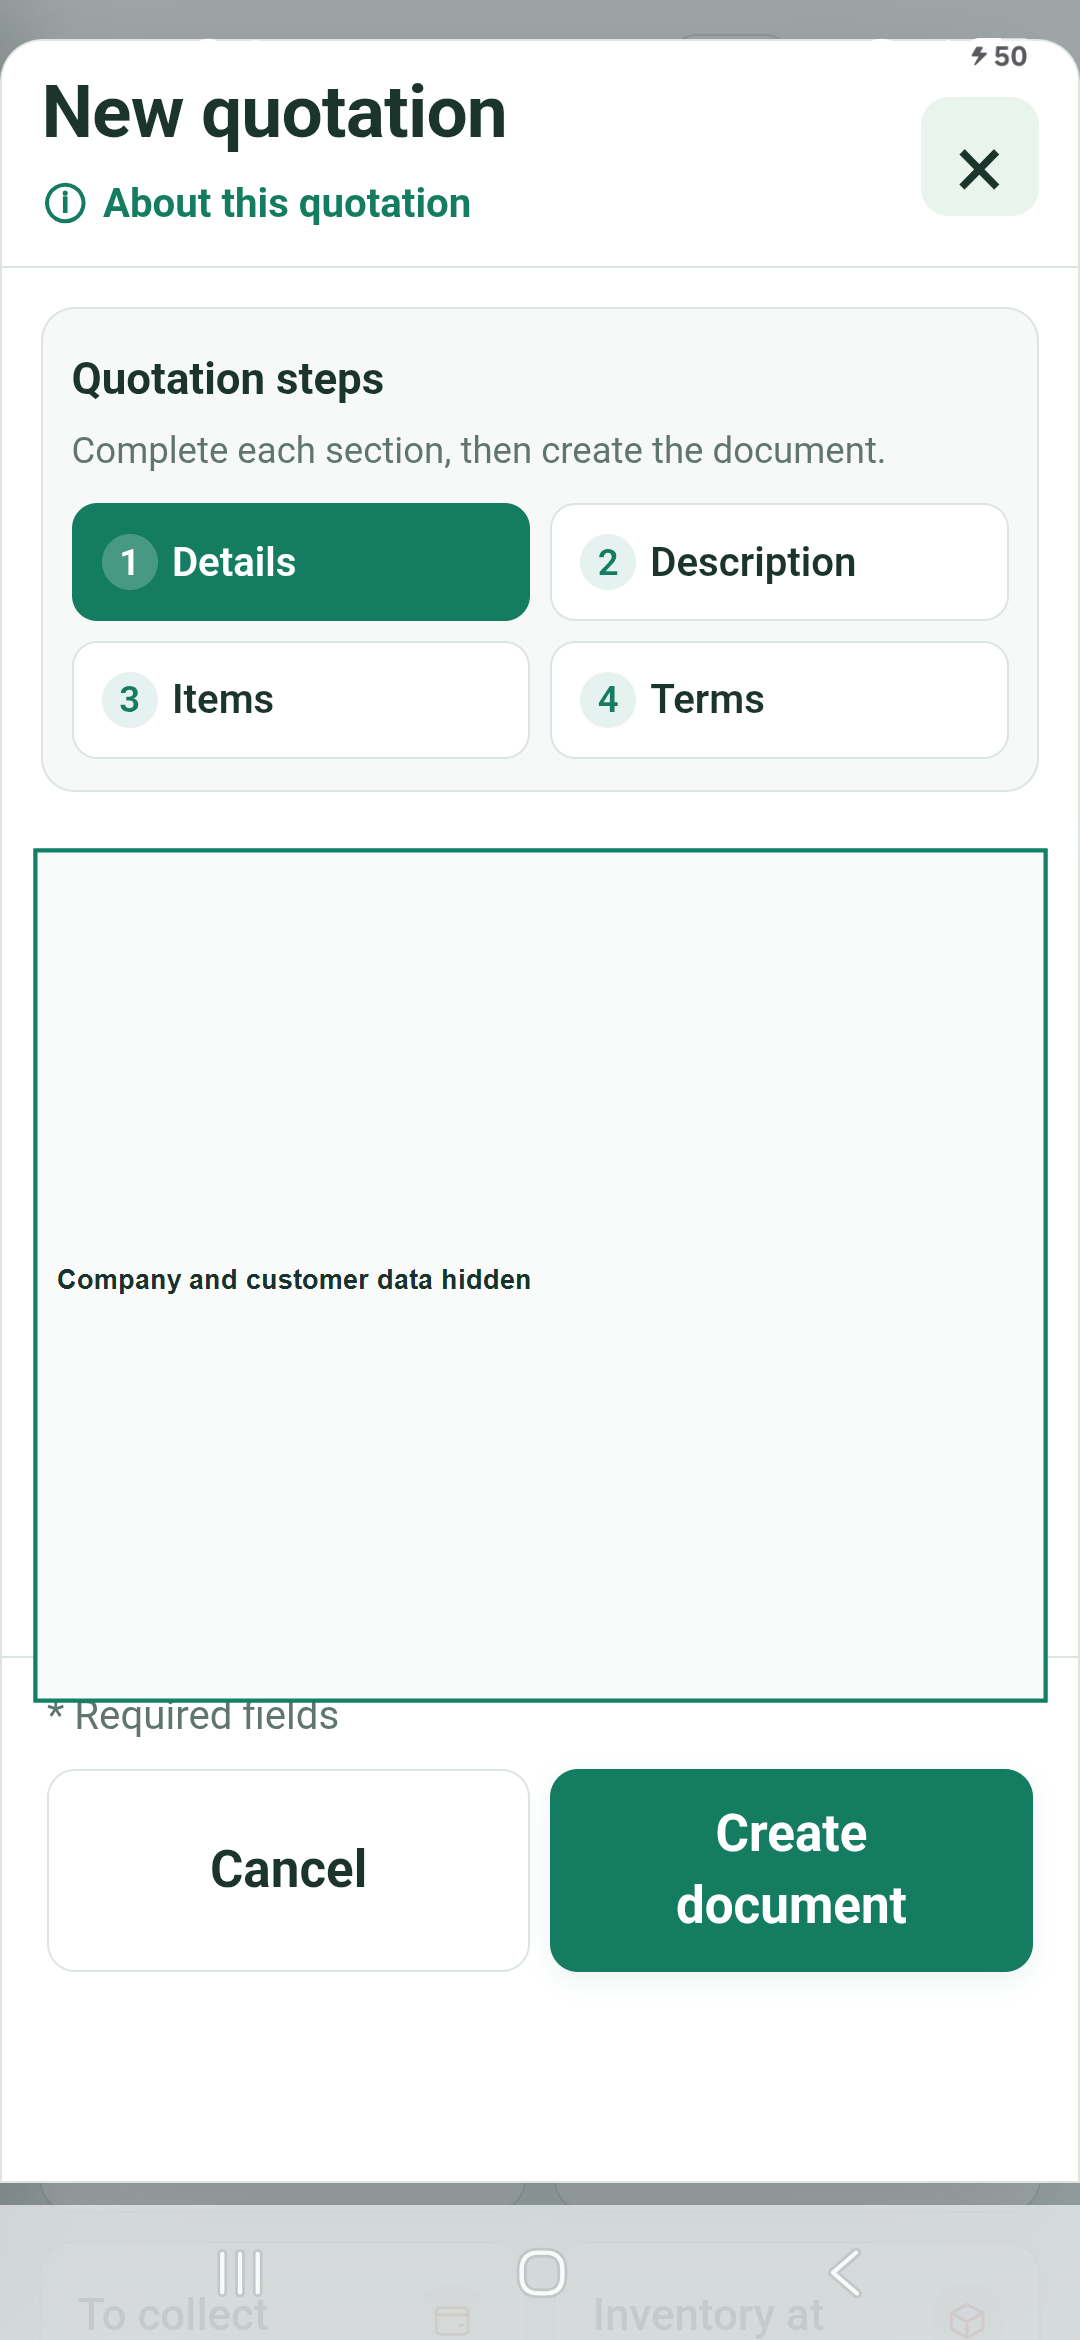
Complete the Details step, then continue through Description, Items and Terms.
3
Select the correct customer and verify the auto-filled customer details.
4
Add products or services, quantity, selling price, discount and terms. Review the total before saving.
5
Tap Create document. A quotation is an estimate until your workflow converts it.
Quotation form: move through the visible steps and review the final total before creating the document.
4. Create and review an invoice
1
Open Invoices and tap Create invoice, or convert the correct accepted quotation when that option is available.
2
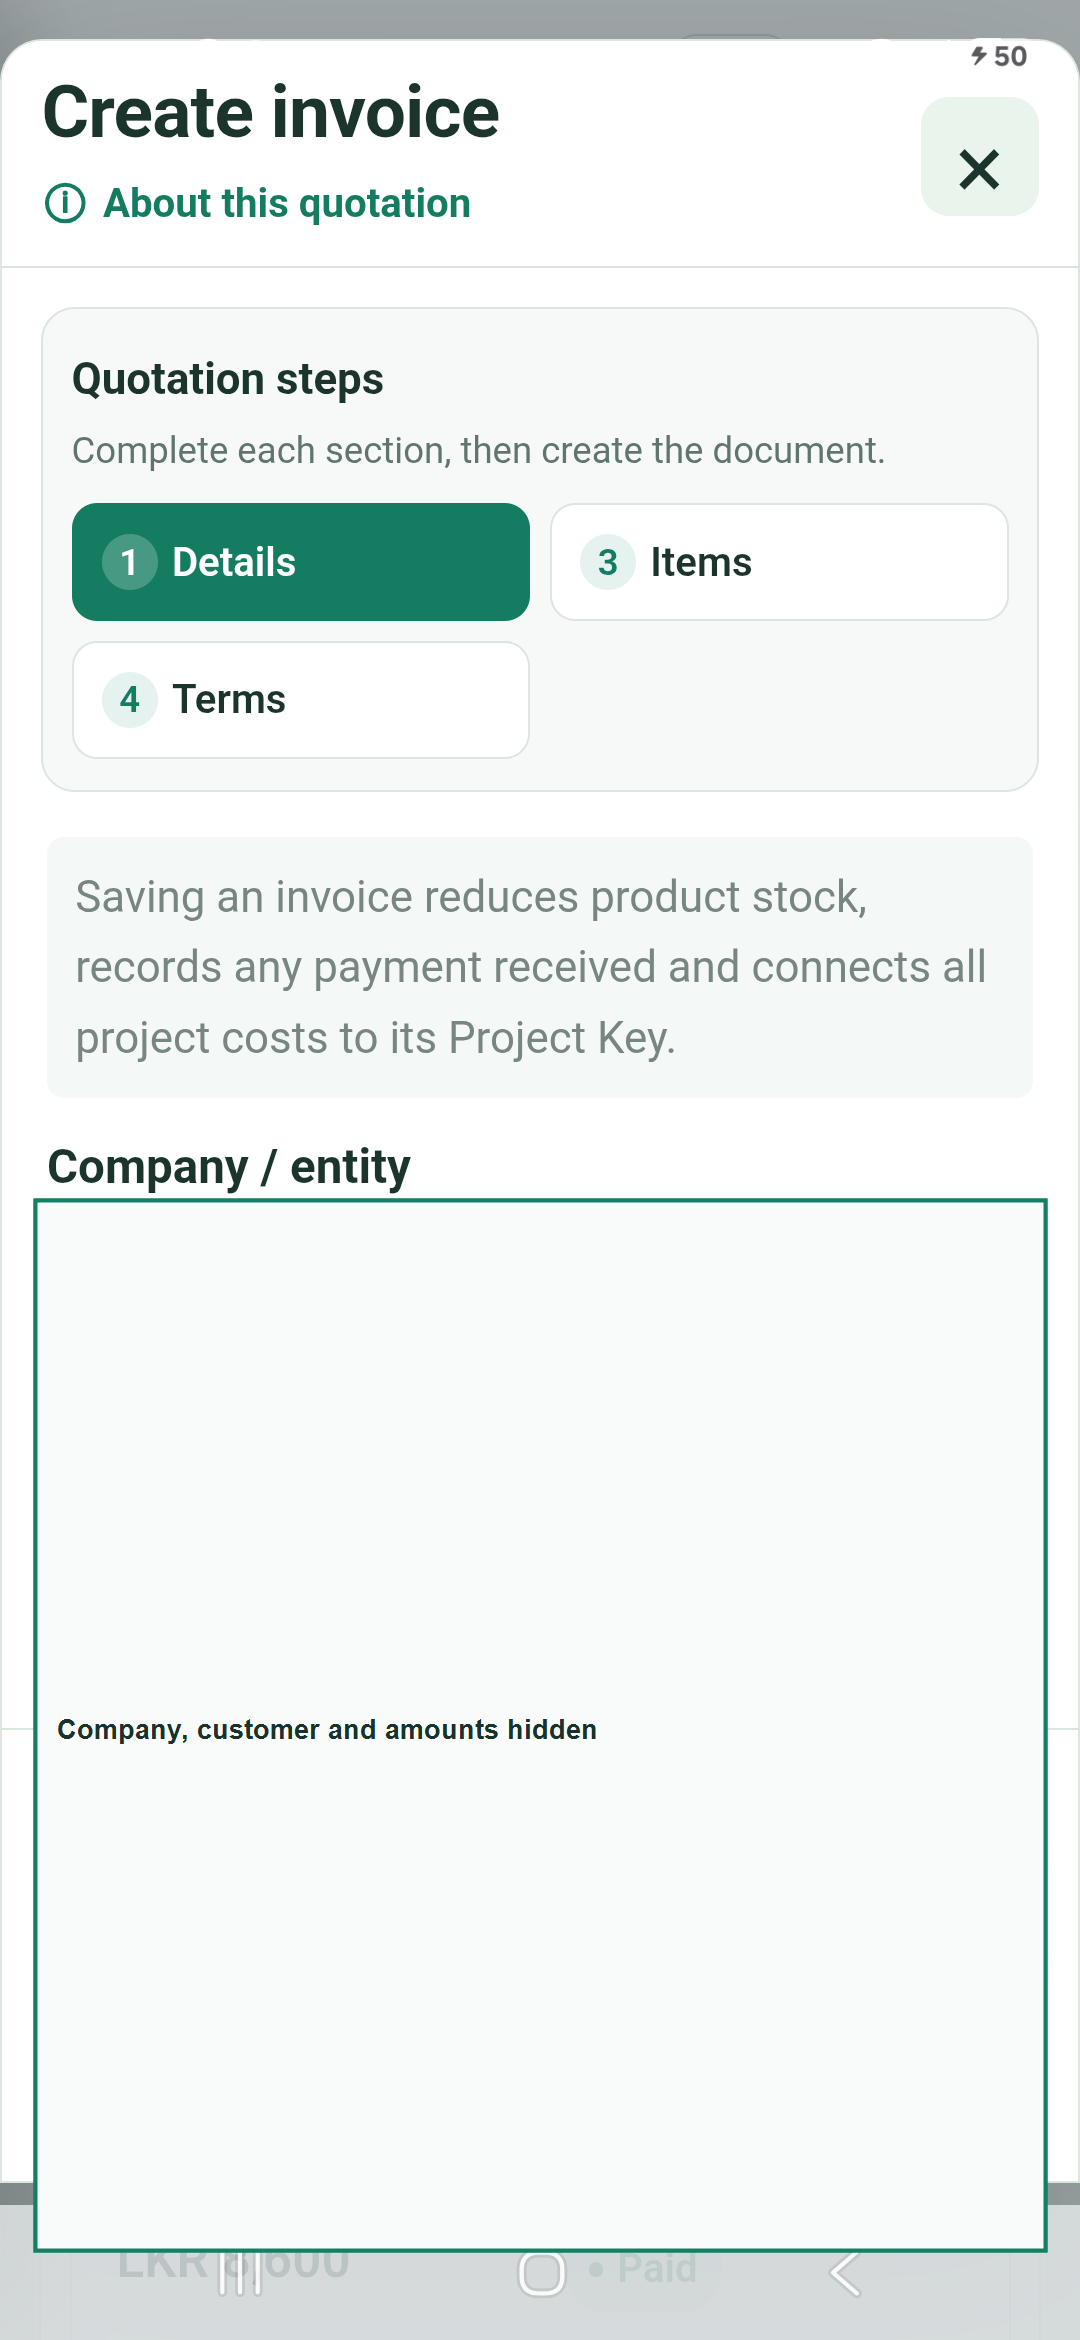
Select the customer and confirm the invoice date, items, prices, payment method and terms.
3
Review stock and payment warnings. Paid or linked documents may become locked to protect accounting history.
4
Tap Create invoice only after checking the document total.
Invoice form: quotation details and invoice steps remain visible while you review the document.
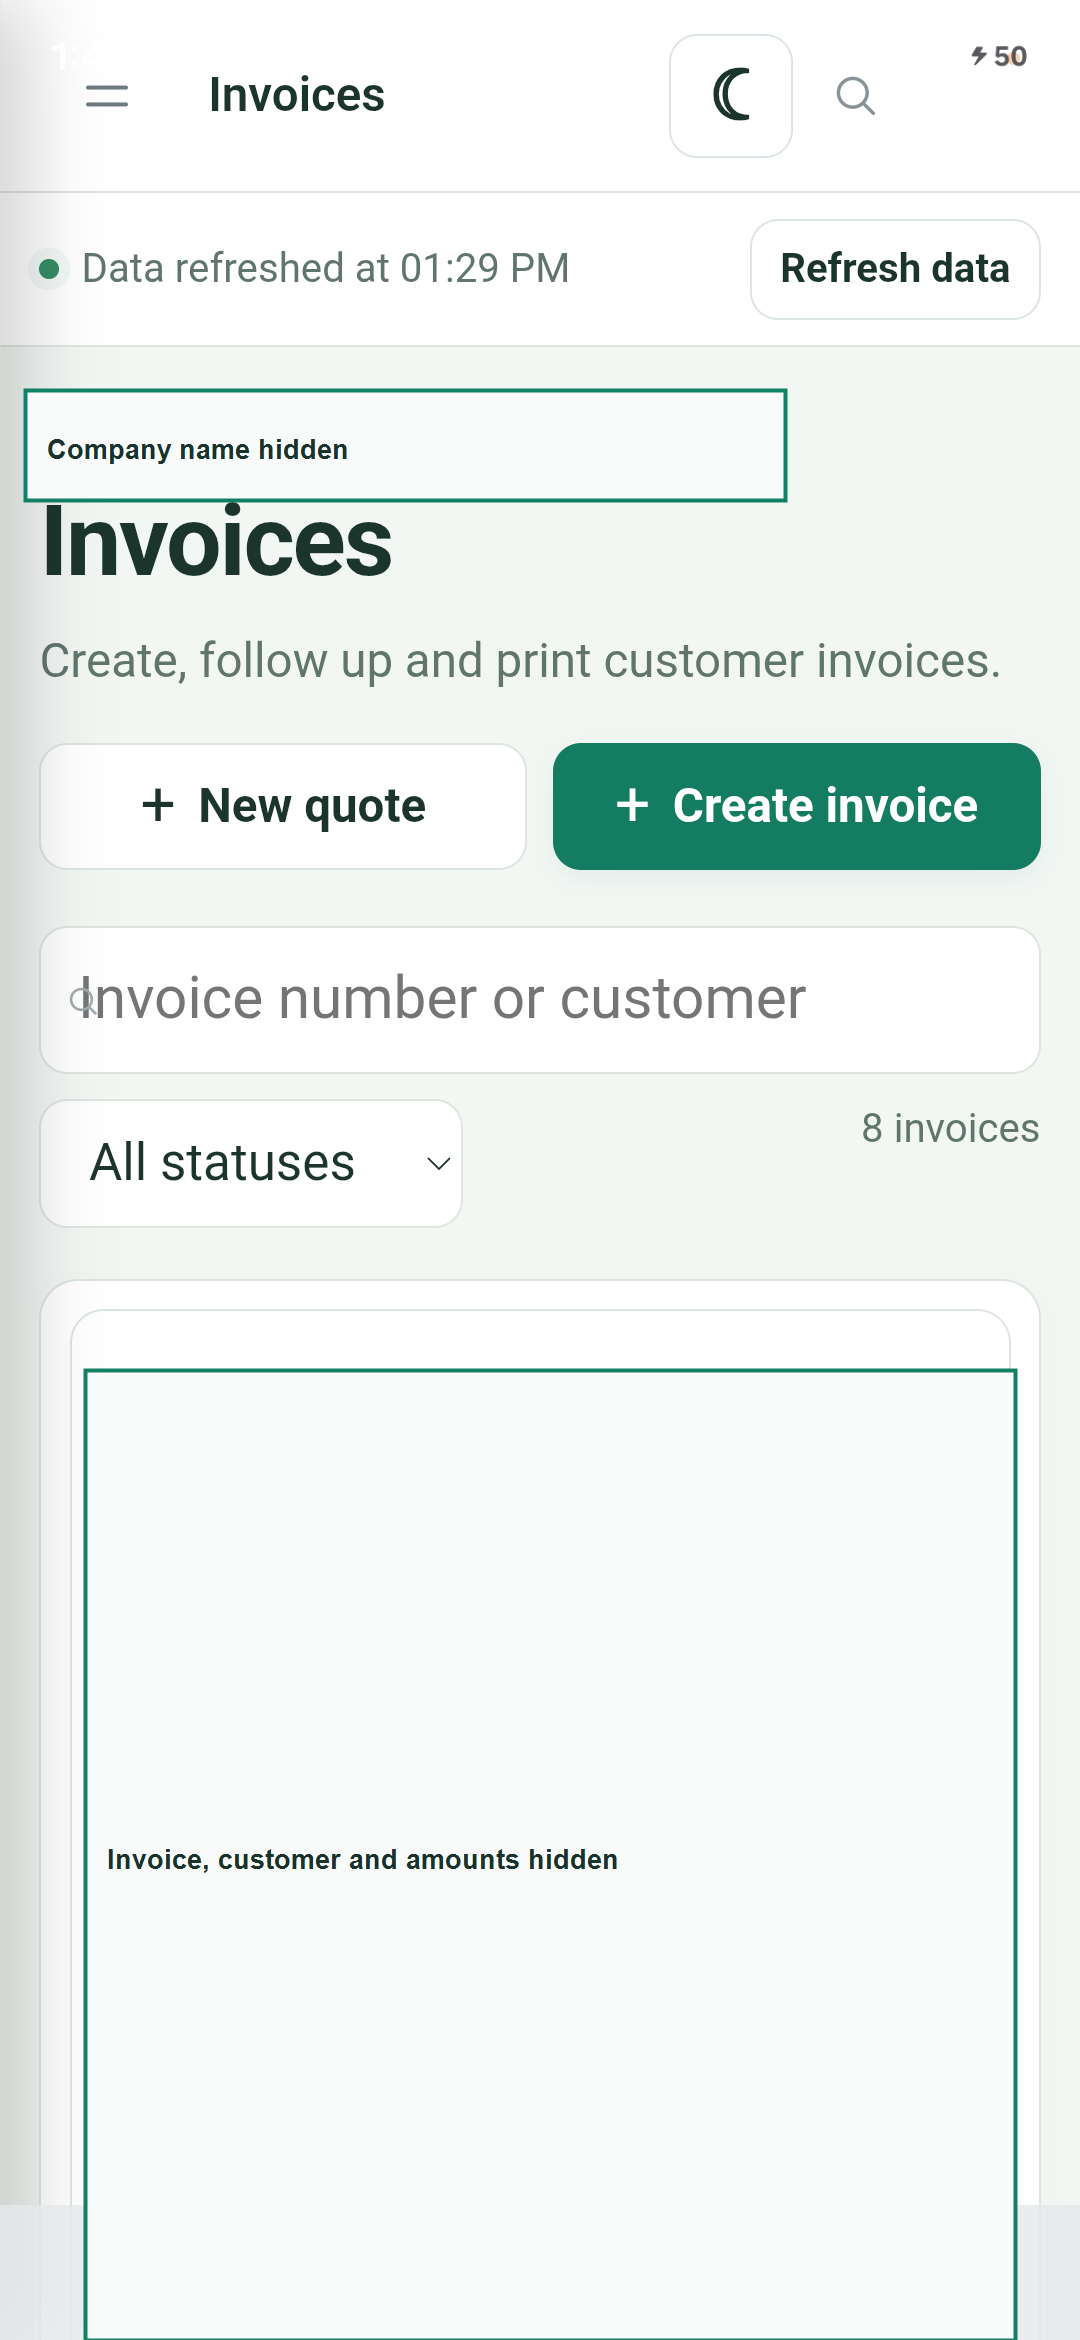
Invoice list: use search, status filters, Open invoice and Refresh data to manage existing records.
5. Select a customer safely
1
Tap the customer field in a quotation or invoice.
2
Select the matching customer from the list. Do not choose a similar name without checking the address or contact details.
3
Confirm that the document now shows the correct customer before adding items or saving.
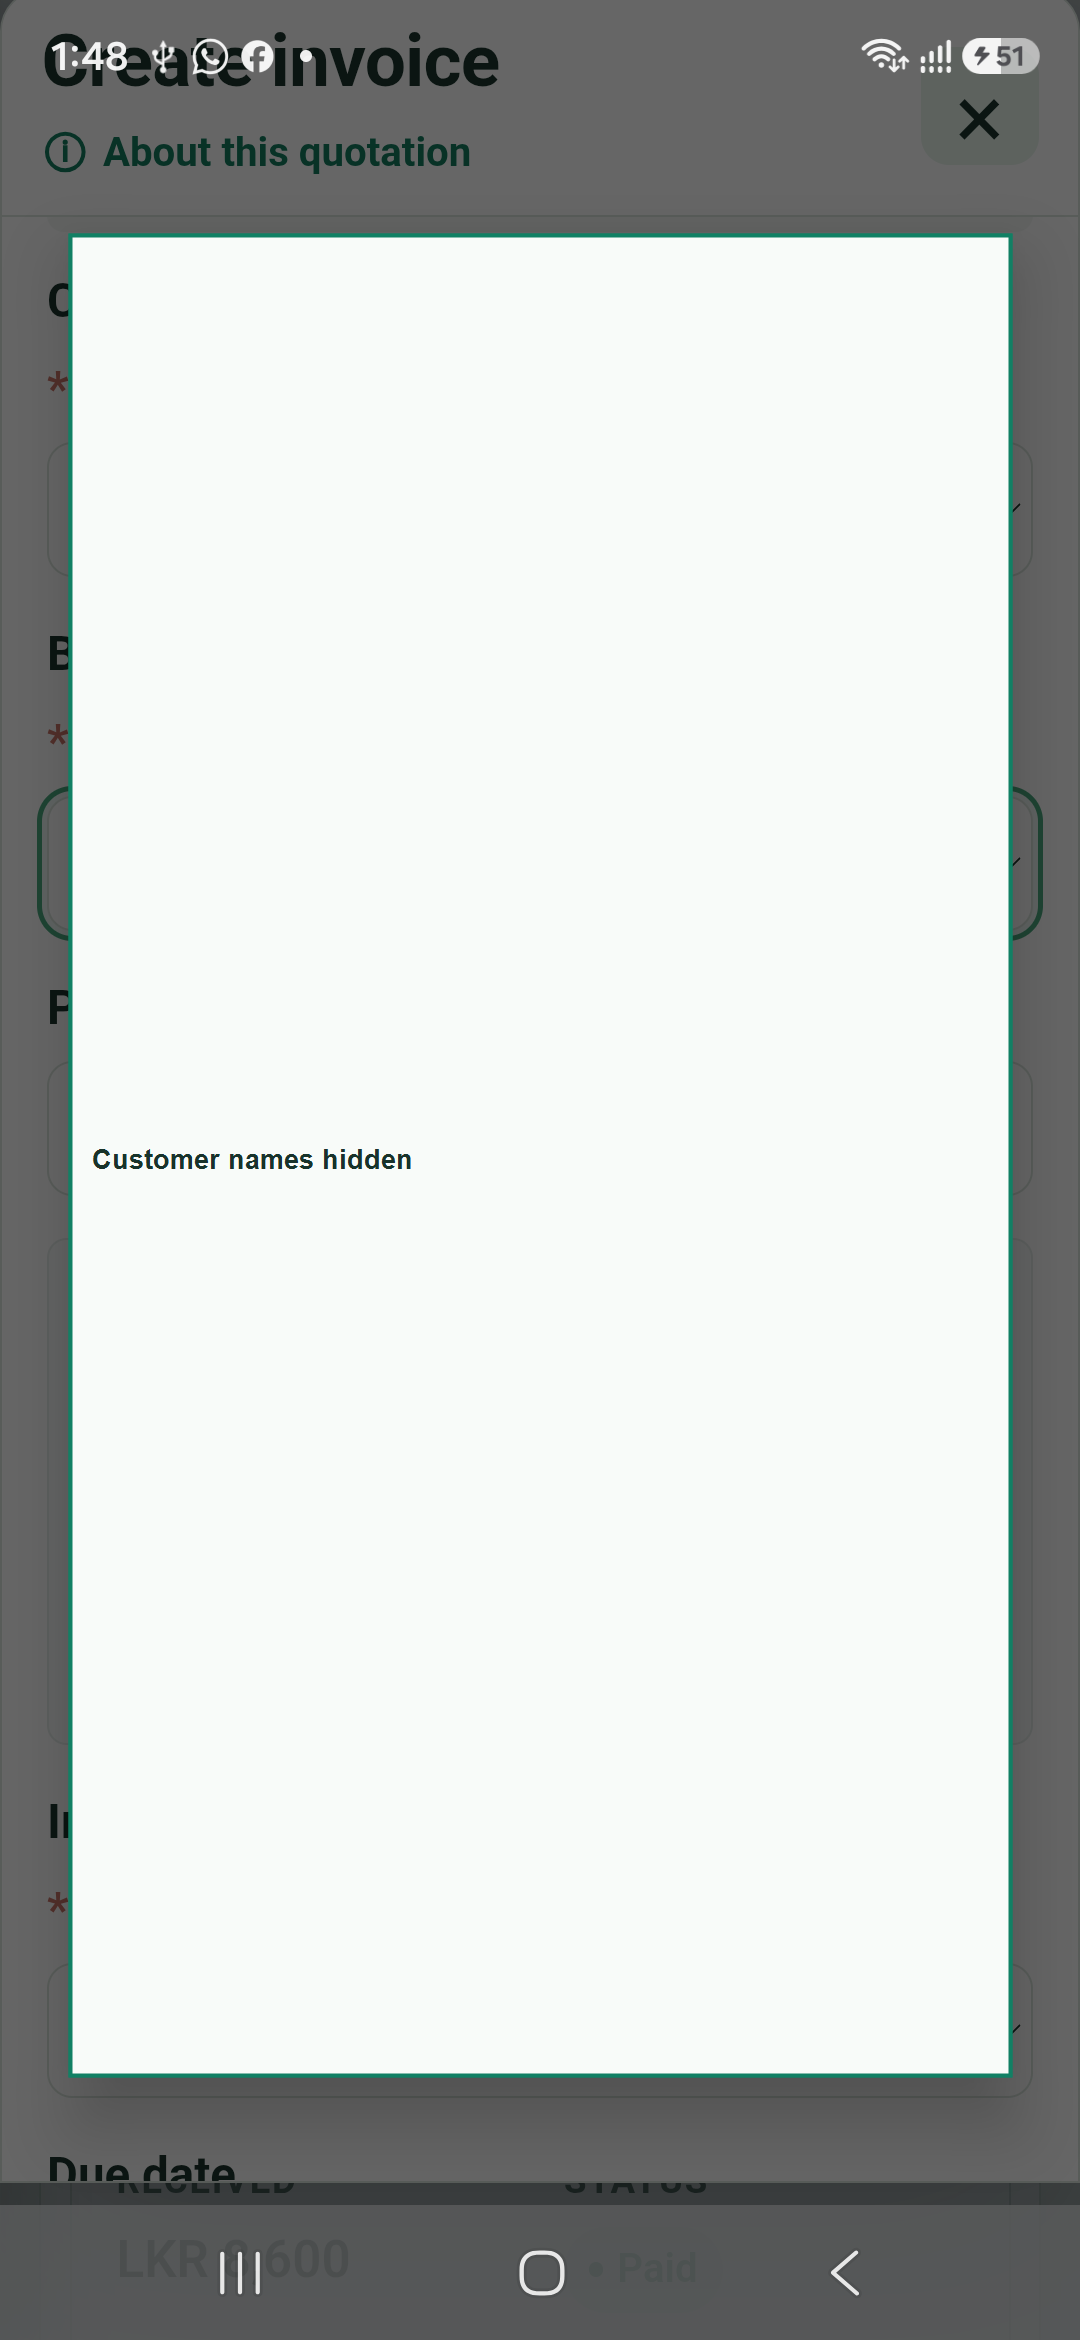
Customer selection: all names are hidden in the shareable screenshot.
6. Expenses and Loss Coverage
1
Open the global search and enter expenses, then select the Expenses screen.
2
Use Add expense for a new operating cost. Select the correct invoice or project link when applicable.
3
Use Loss Coverage to record a loss and select the projects or invoices that cover it. This is an allocation of profit, not a new operating expense.
4
Check the month, year-to-date totals and linked invoice information before saving.
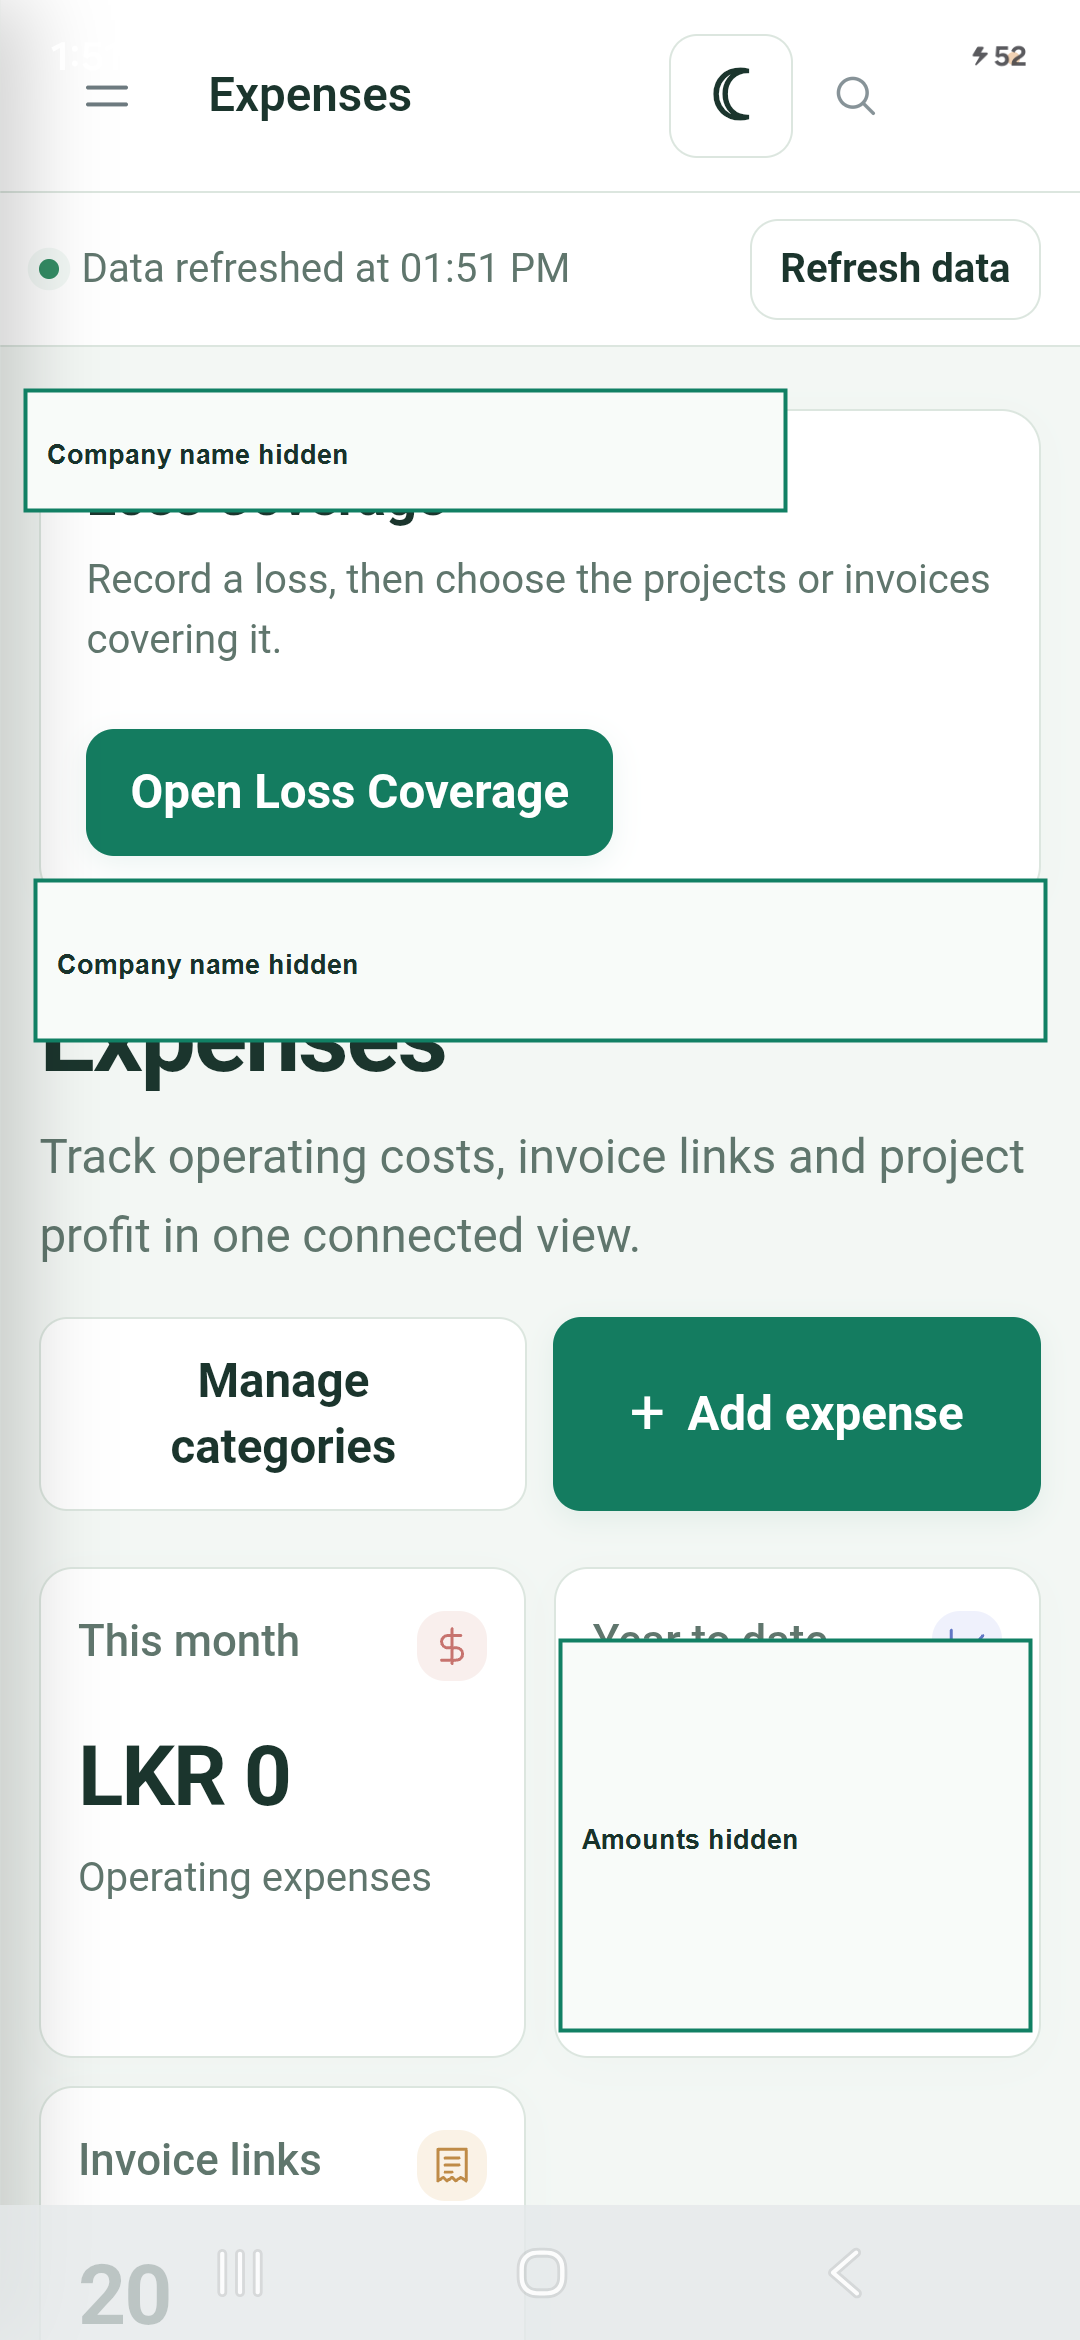
Expenses screen: the Loss Coverage card and expense summary are visible at the top of the page.
7. Loading and recovery check
The device test reproduced a temporary workspace-loading state after relaunch. Tapping Refresh data recovered the dashboard in the next check.
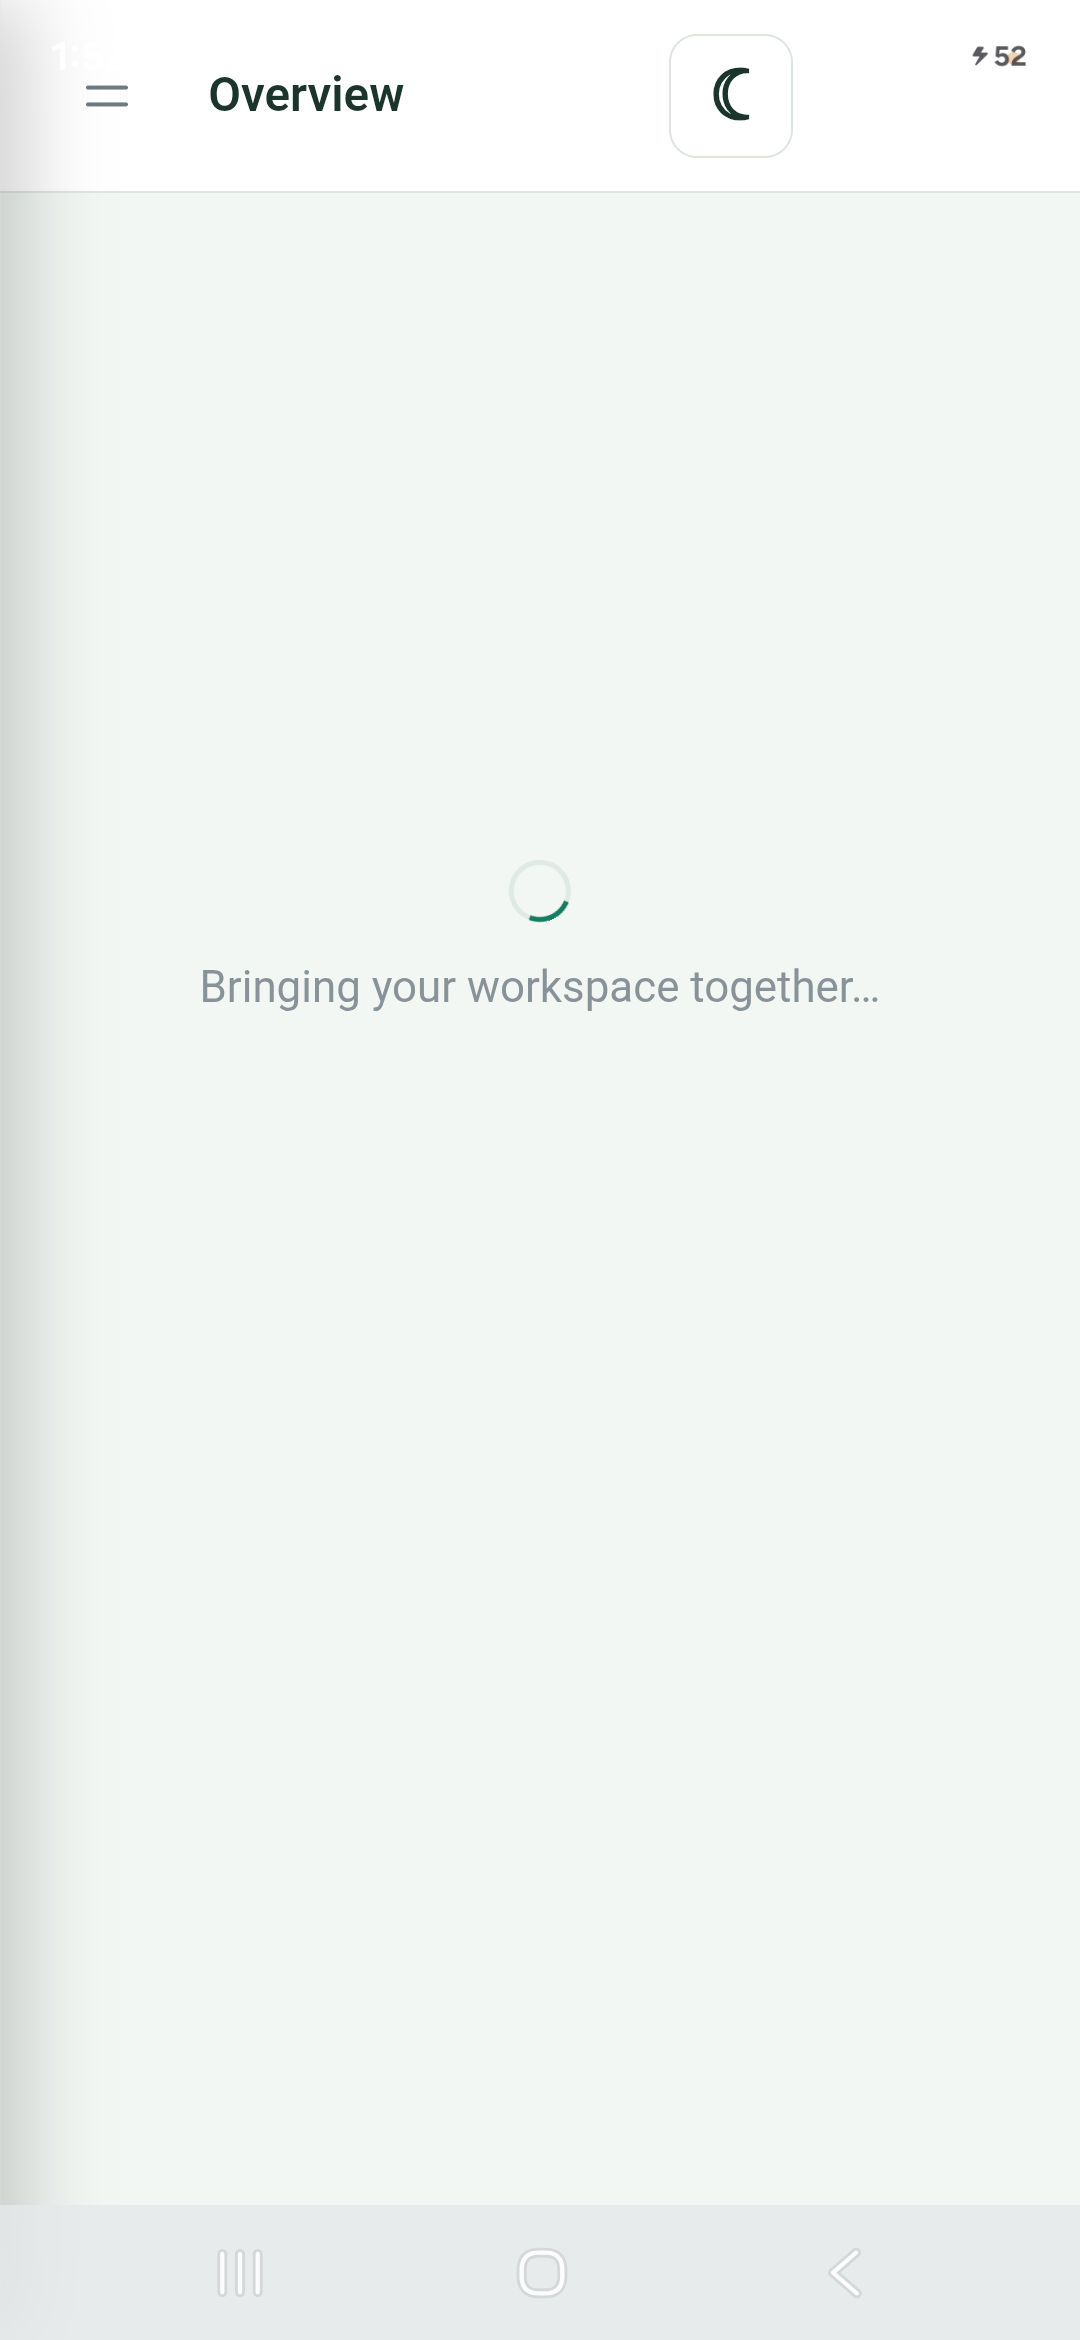
Observed loading state: wait briefly, then use Refresh data.Recovered state after Refresh data: dashboard cards returned.
Back navigation: use the app menu or the app’s visible close controls. On this phone, Android Back can return to the previously used app, so relaunch itsme invoicey if another app appears.
Loading state was observed; Refresh data recovered the dashboard.
Menu and search navigation
Menu and global search opened the Expenses screen.
Quotation and invoice screens
Forms and invoice list opened without saving a new record.
Customer picker
Picker opened; no customer was selected or changed.
Production data
No record was created, edited, deleted or uploaded during capture.
This guide is a screenshot supplement to the full visual user guide. It is not a claim that every possible live workflow or every device model has been tested.
10. Customers and suppliers
1
Open Customers or Suppliers from the menu or Find a screen.
2
Create the record with the correct name, address, contact number and email, then save it.
3
Search for the saved record and open it once to confirm the details.
4
Use the saved record in quotations, invoices, purchases and repair or warranty workflows.
Open Company Settings for profile, logo, bank, tax, currency and document terms.
2
Use the theme control for light or dark mode, then refresh once and confirm the choice remains.
3
If a language choice is available for your account, choose it and check the menu and form labels. Keep the interface in English if a translation is incomplete.
4
Generate a sample document after saving settings and check the PDF appearance.
සිංහල: Company Settings තුළ ආයතන තොරතුරු, Logo, Bank, Tax සහ Document settings වෙනස් කරන්න. Theme එක සහ Language එක පරීක්ෂා කරන්න.
20. Reports, permissions and safe sharing
1
Open Reports and select a date range before reviewing sales, payments, expenses and profit.
2
Use Administrator Access only for privileged controls. Normal users should see only permitted companies and modules.
3
Before sharing a screenshot or PDF, hide company, customer, address, email, phone, invoice, date and amount data.
4
When reporting a problem, send the screen name, action, date/time and redacted screenshot—never a password or OTP.
සිංහල: Reports තුළ Date range එකෙන් විකුණුම්, ගෙවීම්, වියදම් සහ ලාභය බලන්න. Share කරන screenshot වල private data සඟවන්න.